
In our quest for human contact, we’ve all started turning on our webcams. I’ve been working remotely for more than a decade, which has included countless Hangouts and Skype sessions, but only now have I started leaving the camera on. And while computer webcams have gotten rather excellent in recent years, it can be sobering when your face pops up in that window.
It is possible to look good on video chat, however. In fact, you can use many of the same tried and true techniques that photographers and cinematographers have been using for decades to make your self—and your home—look presentable in your next video chat.
Find a big light source
Generally speaking, the larger your light source is compared to your subject, the softer and more flattering the light is going to look. So, plunk yourself in front of a window that doesn’t directly face the sun. The sheer size of the light source will prevent hard shadows from forming in your face’s nooks and crannies like next to your nose and under your eyes.
If the sun is blasting directly through the window, that will ruin the effect because now the small, super-bright dot of the sun becomes the light source. And even though our nearest star is massive, it’s also 93 million miles away, which makes it small relative to your face and causes it to cast hard shadows.
If you’re chatting at night, a window isn’t an option and you’ll have to rely on artificial light instead, but the same rules apply regarding the size of your light source. Pointing a lamp directly at your face will create a small, hard illumination that’s unflattering. You’ll end up with a hot spot on your face and ugly shadows. Try sitting close to a neutral-colored wall and point the light at it to bounce it back at you. You’re now effectively using a light source that’s the size of the wall, and that will be much softer and more flattering. This is a technique that many event and wedding photographers have used for ages.
If you’re chatting outside, find a spot in the shade and try to keep as much of your background out of the direct sun as possible. Even lighting across the entire scene will give you the most consistent and aesthetically pleasing look.
Face your light
In photography, light coming from the exact same angle of the lens typically creates flat, boring light. You would typically put your main light off at an angle to create some shadows and give the subject more shape and texture. For webcams, however, that typically leads to one side of your face looking painfully bright and the other side looking grainy.
Facing straight into your main light will even out your face and fill in texture so any forehead wrinkles you might have (like mine) or bags under your eyes will look less pronounced. Putting the light on too much of an angle will often leave half of your face looking blown out.
Light coming from directly above you is similarly harsh because your eyebrows will block light from hitting your eyes, leaving mostly shadow and making you look vaguely like a skeleton. Not a great look for a professional environment.
Stick with one color of light
Photographers measure the color of light by its temperature. On the Kelvin scale, light in the 5,000 to 6,500 range roughly matches that of natural sunlight, so cameras typically render it as white in their default settings. Incandescent light bulbs—or LEDs meant to mimic them—often fall between 2,000 and 3,000, so they show up orange compared to sunlight.
Functionally, it doesn’t really matter what color light you feed the webcam as long as it’s consistent across the entire scene. If you have both daylight and light bulbs illuminating your face, the two mix together and make you look sickly or unnatural.
If you’re using natural light from a window, turn off the rest of the lights. If you plan on using your own electric lighting, pull the curtains and keep the natural light out. The camera should be able to adjust easily to one specific temperature.
For night chatting, you should also turn your screen brightness down unless it’s your main source of illumination. The light from your screen probably won’t match the ambient light in your room.
Clean off your camera
Camera lenses are shockingly resilient when it comes to shooting through dirt and dust. You can even shoot through a cracked lens and still get surprisingly useful results. A smudgy lens, however, is much harder to overcome. Even a thin layer of grime over your camera will scatter light as it comes in and cause unpleasant halos and smudges in the frame.
Before the call, take a moment to wipe off the glass in front of your webcam. You can use a lens wipe if you have them, but even your T-shirt will probably do the job just fine. This applies to video chatting on your phone as well—or using your phone’s camera for any reason. A clean lens makes a big difference.
Avoid strong backlight

Windows are fantastic when you’re facing them, but can be a nightmare in the background. Excessively bright light going into a camera lens—especially near the edges—can cause light rays to streak across the glass or reflect around inside the barrel of the lens itself and cause flare. In some circumstances, like fancy engagement portraits or JJ Abrams movies, this effect can look cool. In a video chat, however, it’s going to make the whole scene look harsh and your face look dark.
If your lens is dirty because you didn’t follow the previous step, bright background light will also augment the smudginess. Turn the camera slightly to get it out of the frame if you can.
Raise your camera to your eye level
Looking down at a camera is almost never flattering. It works great if you want to make an album cover for your mid-90s alternative rock band, but as for looking your best, a straight-on shot is better.
This is fairly easy to achieve if you’re using your phone. Just hold the device higher. If you’re using a laptop, however, you’ll have to keep something on your desk to raise the camera up to your eye level. I use a stack of books, but you can use a shoebox or anything, really. In a pinch, I’ve literally held my laptop up higher with my hands during a short media appearance so I wouldn’t be looking down during the chat.
Don’t sit too close to the screen
Most modern laptop microphones are impressive when it comes to picking up your voice, even if you’re not press right up against them. As good as webcams and selfie cameras have become, they still suffer distortion when you get too close.
When you set up your shot, sit far enough away that some of your shoulders and chest appear in the frame. It will ensure that the lens doesn’t distort your facial features and that your massive, disembodied head doesn’t look peculiar in a grid of other people on the chat.
This will also help you sit up straight rather than slouching forward. Pulling your shoulders back and straight will make you look a lot better in the shot.
Pick your aftermarket lights carefully
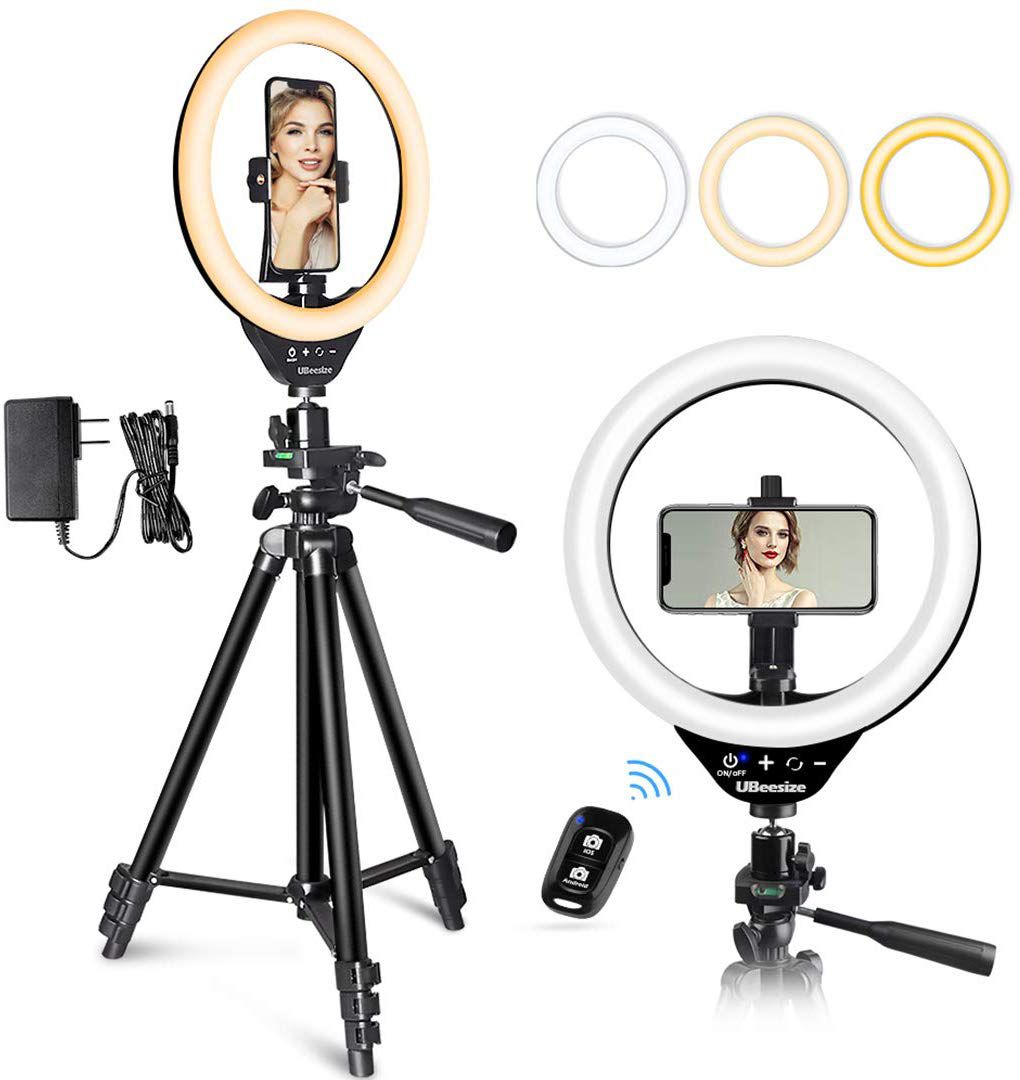
There are lots of webcam-specific lights out there that you can buy to make your setup look better. While these will typically be an improvement over just randomly turning on your webcam wherever you’re sitting, they can also do more harm than good.
Ring lights that surround the webcam are popular because they promise to throw even light on your face from every direction. They were trendy in the ‘90s for fashion and now they have come back for vloggers and makeup YouTubers. In order to get a real ring light look, however, the actual ring should be rather large. If the ring is only just bigger than the lens itself, the light will look harsh because of how small the source is compared to your face.
Personally, I prefer something simple like a lamp with a shade close to my face in order to soften the light, but it depends on the look you want.
Related posts:
 What camera mode to use and when
 How Blue Light Effects Sleep and How to Limit Exposure
 Red Light Therapy: Does It Work to Boost Overall Health?
 18 Remedies to Get Rid of Headaches Naturally
 Sony tried to build the perfect camera for YouTubers
 7 Best Blue Light Therapy Devices – 2020
 Face Mapping: What Your Skin May Be Telling You

 Add a macro lens to your phone for hours of cheap entertainment
 How to pick the right wildlife trail camera
 ‘As Above, So Below’: Are Cosmic Forces at Work on Earth?
 Best Face Yoga Exercises and Their Anti-Aging Benefits

 What Is Sun Damage? Can It Be Reversed?
 Vitamin D Deficiency Symptoms & Sources to Reverse It
 30 Wonderful Purple Hair Color Ideas