Learn how to press flowers, enjoy a relaxing hobby, and never buy pressed flowers again for your DIY arts and crafts projects.
RELATED: How To Preserve Flowers
In this article:
- Start Pressing Flowers as a Hobby Now
- Tips and Tricks on How to Press Flowers and Leaves Perfectly
- How to Press Flowers with Iron
- How to Press Flowers with a Flower Press
- How to Press Flowers with Wax Paper
How to Press Flowers Perfectly
Start Pressing Flowers as a Hobby Now

If you haven’t got around pressing flowers yet, this late summer season is just the perfect time to get started. With the flowers soon fading with the autumn season, now is the time to preserve their beauty and color.
Come winter, you will have a lot on your hands for your personal projects and maybe even gifts to friends and family for the holiday seasons. There is a certain charm in pressed leaves and petals which people love.
Pressing flowers is super simple and easy but you will need to check our tips and tricks so you get it right the first time. You will never have to waste time and precious blossoms like some of us did with these tips and methods.
Tips and Tricks on How to Press Flowers and Leaves Perfectly
For starters, there will be a lot of hits and misses so we’ll save you the trouble with these tips and tricks.
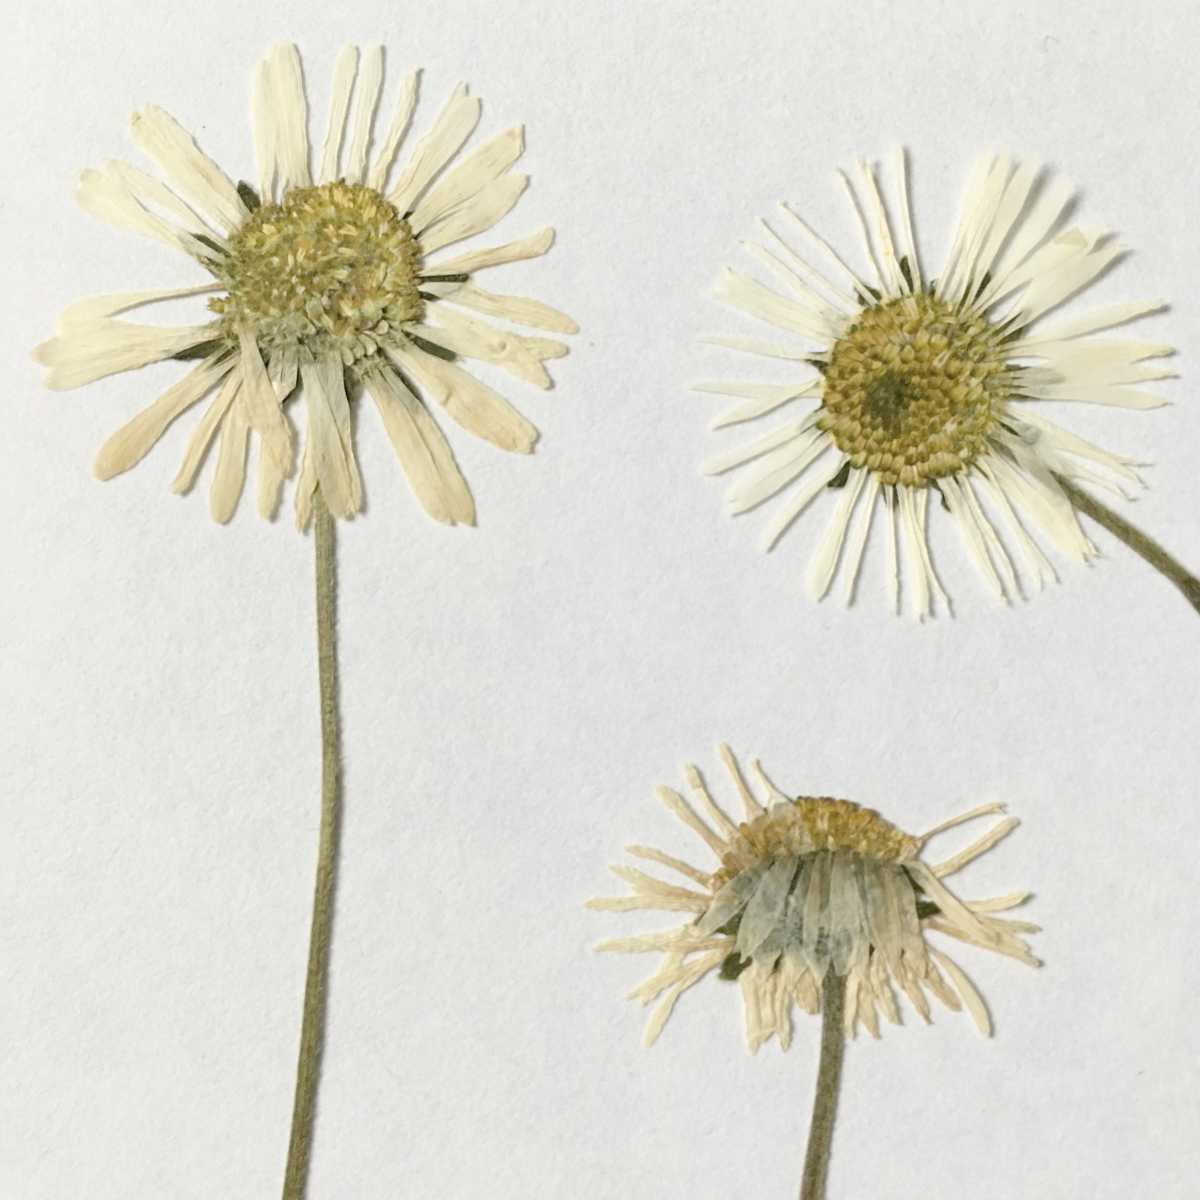
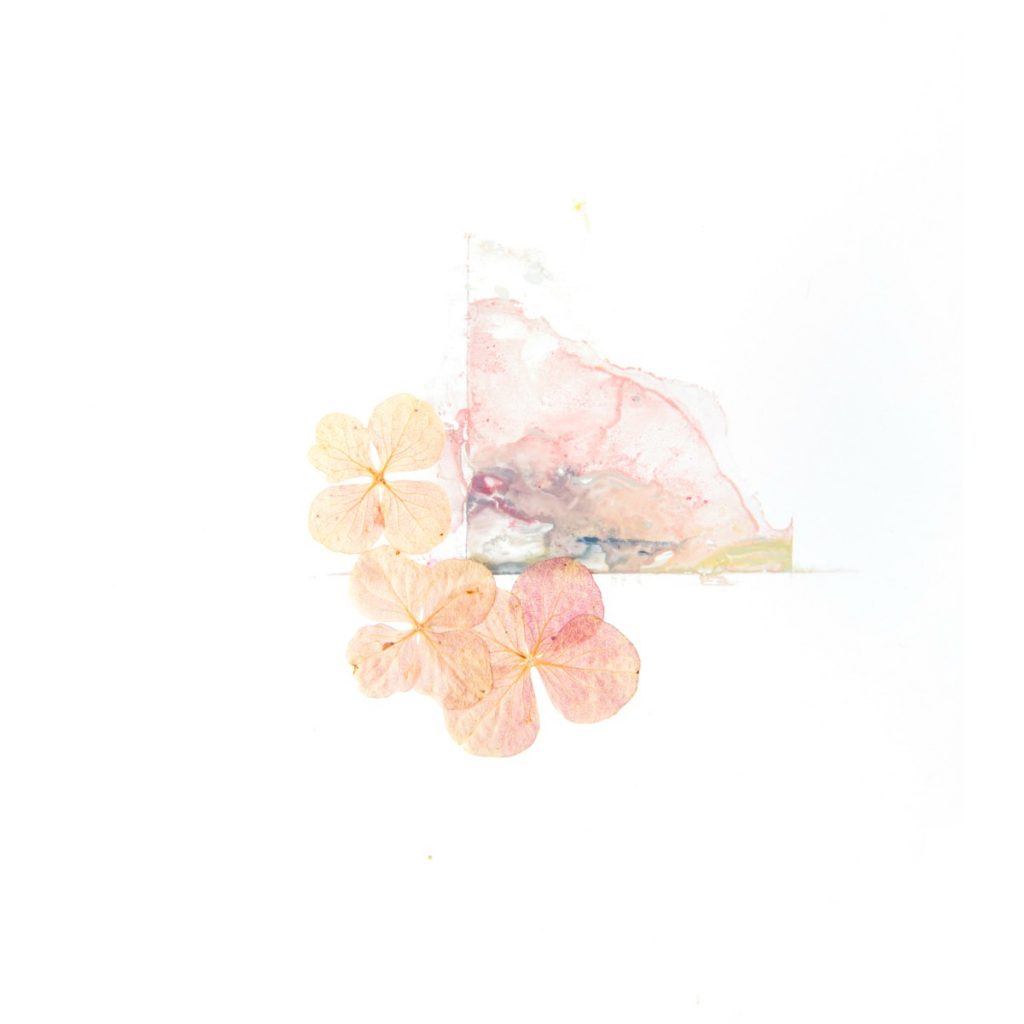
- For the best results, choose naturally flat varieties. Hydrangeas, daisies, pansies, violas, chrysanthemums, tulips, and ferns are some of the best flowers to press. While pretty, bulky blooms like roses are harder to get completely paper flat.
- Choose perfect florets and leaves with no holes or discoloration because we only want the best!
- Pressed flowers are extremely fragile so handle with care!
- Use makeup oil blotting paper to help soak up water,
- Insert a sheet on top of your materials before you press so you can get the best results.
- Let your materials have their space! When laying out the specimens make sure they are not overlapping each other in the press, or else you will get one glob of petals.
How to Press Flowers with Iron
Want to craft something cute in a flash? This is the method for you! In only a few minutes you’ll have some beautiful pressed flowers which are craft ready when you are!
Supplies Needed:
- Iron
- Ironing board
- Paper sheets
- Fresh flowers and leaves
Instructions:
Step 1. Prepare Your Pressing Area
First, lay a sheet of paper down on your ironing board, then place flowers on top and cover with another sheet of paper. Next, lay a heavy hardcover book on top.
Make sure the book is secured and will not slide over as this may damage the flowers. Push down on the book and wait for 2-3 minutes.
Step 2. Set Your Iron
Remove the book but leave the specimens on the paper. Take out the iron and remove any water if it’s a steamer kind.
Set the iron to the lowest heat setting (or dry, if your iron has it). Gone are the old days of waiting days for pressed flowers to dry.
Step 3. Press
Irons turn fresh blooms into pressed flowers within minutes! Place iron down on paper and press.
Hold for 10 seconds and remove, and repeat this process across the sheet. Do NOT drag across like you do on clothing because this will damage both your specimens and your paper.
Remove flowers slowly to prevent tearing and set aside on another clean sheet of paper.
RELATED: Homemade Resin Jewelry Made from Pressed Flowers
How to Press Flowers with a Flower Press

Want to take your flower pressing business to the next level? If you have some more time to invest in creating perfectly flat materials, build a flower press which is really easy to make and use.
Flowers are ready to use after 24 hours in the press.
Supplies:
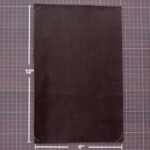
- 2 7” x 7” wood squares
- Scrap cardboard
- Sheets of paper or blotting paper
- Fresh flowers and leaves
- Power drill
- 4 screws
- 5/32” drill bits
- 4 washers
- 4 wingnuts
Instructions:
Step 1. Make a DIY Flower Press
First, cut or purchase two identical pieces of wood, and measure about 1” in from the edge of your wood corners with a pencil. Then, drill over your pencil marks through both boards at about 1″ in from the corner on all four sides.
Next, place washers on the bolts and slide the bolts up through the bottoms of both squares. Make sure to add wingnuts on top to easily tighten and loosen your press.
Step 2. Set Up Your Press
Take some scrap cardboard that is roughly the same size as your press. Trim off corners of cardboard so they do not interfere with the bolts of your flower press.
Step 3. Try Pressing Flowers
Take your specimens and lay them out how you like on plain paper. Insert your flowers between your cardboard sheets and use the wingnuts to tighten and press.
After 24 hours, you will have perfectly pressed flowers!
How to Press Flowers with Wax Paper

This next method of pressing flowers is perfect for lightweight flowers. Once completed, you will have a sheet of translucent blooms which add a rustic dimension to any craft project.
Supplies:
- Iron
- Ironing board
- Wax paper sheets
- Paper towels
- Small fresh flowers and leaves (small daisies or orchids)
Instructions:
Step 1. Follow the First Steps to Pressing Flowers with an Iron
The steps for this process is similar to the iron process, so just replace the paper with two sheets of wax paper sandwiching your specimens.
Step 2. Use the Wax Papers
Take some paper towels and lay on top of your wax paper, then press down with your iron for 10 seconds at a time. In only a few minutes you will have a sealed translucent sheet filled with flowers!
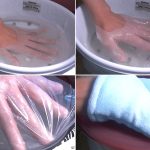
This video from Sheri Vegas on how to cast pressed flowers in resin will inspire your next craft project:
Make your downtime more productive with these relaxing arts and crafts projects. Since you now know the different methods, I’m positive your winter will be filled with warmth from the memories of summer in these well-preserved flowers.
Do you have any tips we may have missed? Let us know in the comments section below!
Up Next:
- Back to School Organization Tips and DIY Tutorial on How to Organize Your Locker
- 10 Construction Paper Flowers | DIY Flower Craft Ideas
- How To Make Tissue Paper Flowers
![]()
Stay connected with us on Facebook, Twitter, Pinterest, and Instagram!
Editor’s Note: This post was originally published on June 30, 2014, and has been updated for quality and relevancy.
The post How To Press Flowers For Your Arts And Crafts Projects appeared first on DIY Projects Craft Ideas & How To’s for Home Decor with Videos.
Related posts:
 Rain Chains: A Fun & Effective Alternative To Gutters
 400+ Best DIY Christmas Projects You Should Make This Year
 63 Things To Never Throw Away For DIY Junkies [2nd Edition]
 21 Fall Door Decorations | DIY Wreaths, Door Hangers, And More
 20 Cool Ways to Use STONE For DIY Projects in 2016
27 Easy DIY Projects For Teens Who Love To Craft
20 Cool Ways to Use STONE For DIY Projects in 2016
27 Easy DIY Projects For Teens Who Love To Craft
 Decoding Antioxidants: Why Are They Good For You? Where Can You Get Them?
 10 Best Paraffin Wax Baths To Buy In 2019
 What Is the Difference Between Parchment Paper and Wax Paper?
 Backyard Projects To Enjoy Time Outdoors This Summer
 Awesome Leather Craft: Make Your Own Cable Organizer
 35 Super Unique Scrapbook Ideas – 2023 Updated
 10 Outstanding DIY Fall Projects To End The Season With
 Brighten Your Child’s Day with These DIY School Supplies (EASY)
 15 Fun & Easy Toilet Paper Roll Craft & Projects For Kids